Design/Build - Acoustic Treatment
Written on March 14th, 2024 by Alex Zahn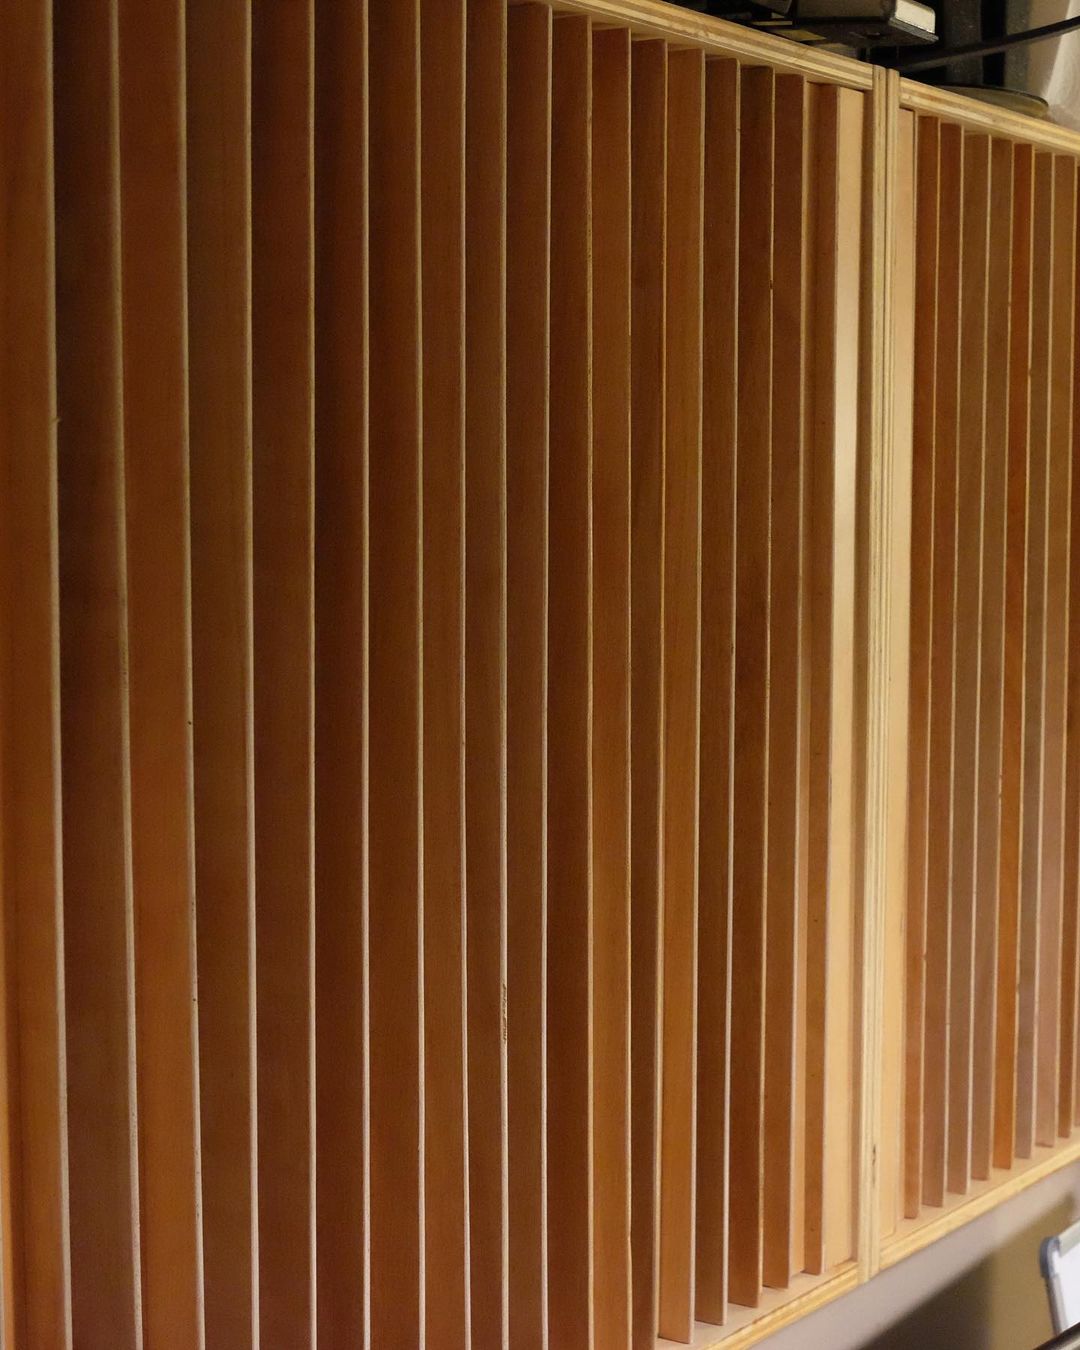
In 2021, my good friend Karan Dewnani and I built some acoustic treatment for a little music studio room I was renting in San Luis Obispo. I designed each piece using AutoCAD and SketchUp, as well as another nifty little software tool I’ll mention later. All in all the pieces were…
- Ceiling-mounted hanging “cloud” absorbers
- Wall-mounted quadratic residue diffusers
- Freestanding, stackable corner “bass trap” absorbers
- Wall-mounted semi-cylindrical absorber/diffusers
Brave travelers read on for some dense ramblings about the design and build process.
Clouds
Slap-back echoes off bare walls are usually pretty obvious to us (remember what it sounded like when you first moved into your house/apartment and walked around in the empty rooms?), but don’t be deceived - there’s a wall above you too. The time delay from ceiling reflections is usually quick enough that we don’t hear them as an audible delay, but rest assured, they’re causing resonances at several frequencies, throwing off your ear when mixing. Sound like a problem? It is, but trust me, there’s a better solution than removing your ceiling entirely. Hanging “cloud” absorbers can get rid of a large amount of those ceiling reflections.
Sound waves are just vibrating air, or more technically, wave patterns of air pressure. When they hit a solid boundary (your ceiling), they reflect back, much like water waves hitting the side of a pool. So what if we make that boundary… less of a boundary? The aquatic center pool in my hometown comes to mind. The edge of the pool is an open cavity that allows waves to flow in and virtually get swallowed up.

We can do the same kind of thing on our ceiling to swallow up our air waves. All we need is some soft, air-permeable material. As the sound waves pass through, the vibrating air hits the fibers of the material, transferring energy and converting it into (a small amount of) heat.
Considerations
To make this as effective as possible, there are a couple things to note:
-
Air Gap: The air velocity of the sound waves is lowest at the ceiling (which makes sense if you think about it right? That’s the point at which they reflect and change direction), so hanging your cloud absorber off the ceiling, with an “air gap”, will make it more effective, as you’re pushing it farther into the area of higher air velocity. “RoomTraps” has a great post putting this to the test by measuring room response with and without air gaps.
-
Thickness: Low-frequency waves have longer wavelengths, so the thinner your absorber, the less effective it will be in the lows.
Rockwool Safe’n’Sound insulation is my go-to choice for flat sheets of sound-proofing insulation. The data sheet lists the noise-reduction coefficients as follows:
| Thickness | 125 Hz | 250 Hz | 500 Hz | 1 kHz | 2 kHz | 4 kHz |
|---|---|---|---|---|---|---|
| 3” | 0.52 | 0.96 | 1.18 | 1.07 | 1.05 | 1.05 |
| 6” | 1.11 | 1.28 | 1.15 | 1.06 | 1.03 | 1.01 |
As you can see, below ~250 Hz, the thickness starts to have a significant effect.
Design
For my design, I decided to go for 6” thickness, about a 5” air gap, and a footprint of roughly 5’ x 3’. My biggest recommendation when considering size is to consider the spacing of your ceiling joists. I know some folks who have mounted clouds with drywall anchors without issue, but I’d rather be extra safe. Designing your size around the footprint of the insulation panels is also convenient, but not crucial - they can be cut to size.
The build process was relatively straight forward:
- Build the frame out of 2X6’s, with a cross-beam or two for additional support.
- Wrap what will be the ceiling-side face with a cheap, air-permeable fabric (I picked up some garden bed fabric from the hardware store that worked nicely). Staple to secure it.
- Flip the frame and fill with the insulation.
- Wrap the floor-side face and sides with a nicer fabric (I sprung for black speaker-grill cloth), and staple it to the ceiling-side edge of the frame, where it won’t be visible from below.
- For mounting, I used simple eyebolts and carabiners from the hardware store. Make sure the weight rating of these is sufficient! You can put an eyebolt in each corner of the ceiling-side edge of the frame, and four matching eyebolts into your ceiling joists, connecting them with the carabiners. I’ve found the best way to match these up is to first measure the distance between your joist mounting-points on the ceiling, and use that measurement to space your eyebolts in the cloud frame.

Quadratic Residue Diffuser
“Quadratic Residue Diffuser” is a fancy term for what’s basically a “reflection-spreader”.
…Okay, I’ll admit the former sounds cooler. But essentially, it’s a wall-mounted (or on wheels - the world is your oyster) piece of acoustic treatment that has “wells” at various depths, intended to scatter the sound reflections that would otherwise be a fat slap-back echo off a solid wall.

The variation in well-depth is the star of the show here and is responsible for the scattering. The well depths are calculated using the well number squared, modulo the (prime) number of wells. The result of this is an approximately linear phase response, minimizing comb filtering and strong resonances, which would otherwise result from using well depths that are clean multiples of each other. Acoustic Fields and mh-audio do a great job of explaining the math and reasoning if you’re curious.
<tangent> One of the projects I worked on in the past was an RF antenna array that could “steer” its signal emission vector, which effectively works in the same way: Software-induced phase shifts between adjacent antennas force a skewed wave interference pattern that effectively aims the signal off-center. The adjacent wells in a QR diffuser work similarly: Phase shifts resulting from variations in depth from one well to the next cause the reflected sound waves to interfere and effectively scatter off-center. Waves are cool, man. </tangent>

If you want to take a stab at designing a diffuser for your own space, QRDude is a fantastic, free, quadratic residue diffuser design tool for Windows. It makes it easy to create a QRD design from just a few input parameters, like the number of wells and well width. The scatter picture is also a nice visual of the aforementioned scattering due to the phase shifts between wells. QRDude also supports 2D designs, if you want your diffuser to scatter reflections vertically in addition to horizontally, but for my design I went 1D for purely horizontal diffusion.
Final note: A diffuser of this kind is really only going to affect frequencies proportional to your deepest wells, and is only going to be effective at a minimum listening distance, so make sure to take that into account.

Corner Bass Traps
The points in your room where walls meet, known to some experts as “corners”, are perfect little spots for low frequency sound waves to reflect. Don’t let bass resonances go wild in your room! Tame those nodes and anti-nodes with thick absorbers.
Even worse than two walls meeting is three walls meeting, so we want to target the floor and ceiling corners as well. For this reason, I recommend making stackable bass traps that span the height of your room.
Most ceilings are 8’ tall, so I chose to make mine roughly 4’ tall. But importantly, whatever the height of your room is, I highly recommend shaving a couple inches off. Inconsistent floor-to-ceiling height, rugs, etc. can make the height of the room less predictable than you’d think, so trust me, you’ll be glad to have a little wiggle room.
For my design, I made triangular-prism frames, open on the room-side face, and filled with bulk shredded foam, which you can order online for a reasonable price. Simply upholster with an air-permeable fabric and you’re good to go.

In hindsight, there are two changes I might make to the design…
-
Denser insulation: You’ll get more sound absorption per volume with a denser foam, like the Rockwool Safe’n’Sound mentioned earlier, but these were some thickies, and I needed to work within a limited budget at the time.
-
Trapezoidal panel design with an air-gap: I’ve seen some great designs online that use a simple 3-6” thick panel, cut to a trapezoidal shape to fit snug into a corner, with an air-gap behind. This could very likely get you more bang for your buck.
Semi-Cylindrical Absorber-Diffusers
If your room is too filled with absorption, it can begin to sound “dead”. Our ears expect at least some amount of reverberation. We don’t want to remove it entirely and overcompensate in our mixes, but we do want to spread it out into a more general reverberation, as opposed to discrete delays between flat surfaces. Additionally, it’s much easier to absorb high frequencies than low frequencies, and introducing an imbalance between the highs and lows in your room can be just as detrimental.
For these reasons, these pieces are a combination of low-frequency absorption and mid/high-frequency diffusion. For diffusion, the curved surface is built from wooden slats covered with a semi-rigid, non-air-permeable material, and the semi-cylindrical shape minimizes phase-shifting. I’ve also filled mine with loose insulation and drilled holes into the top and bottom caps of the frame to get a bit extra absorption of non-incident low-frequency waves.
Putting clusters of these guys on your walls, alternating orientation (wall-to-wall dimension versus floor-to-ceiling dimension), can really help open up the psychoacoustics of your space.

Thanks For Reading
I hope my retrospection and design info was helpful, or at the very least, entertaining. May it inspire you as you go forth and flex those DIY muscles. Happy building, and feel free to reach out if you’d like to discuss acoustics, designs, or pool monsters.